Building a High-Quality Linocut Printmaking Setup

Why invest in a linocut setup right now?
Have you ever looked at a professional linocut print and wondered why your own hand-carved blocks look a bit... uneven? It isn't just about hand talent; it's about the tools you use to move ink and carve detail. Printmaking is a tactile, physical medium that relies heavily on the quality of your relief surfaces and the pressure you apply. This guide covers the fundamental components you need to build a functional studio space, whether you're working on a kitchen table in Philadelphia or a dedicated workshop. We'll look at the specific tools that make a difference in your final output.
Printmaking can feel intimidating because of the specialized gear, but you don't need a massive heavy-duty press to get started. You just need a thoughtful selection of materials that work together. A good setup focuses on three pillars: the carving process, the inking process, and the printing process. If one of these is weak, the whole print suffers. For example, if your linoleum is too hard, you'll struggle with detail; if your ink is too thin, it won't hold the texture of your carved lines.
What are the best carving tools for beginners?
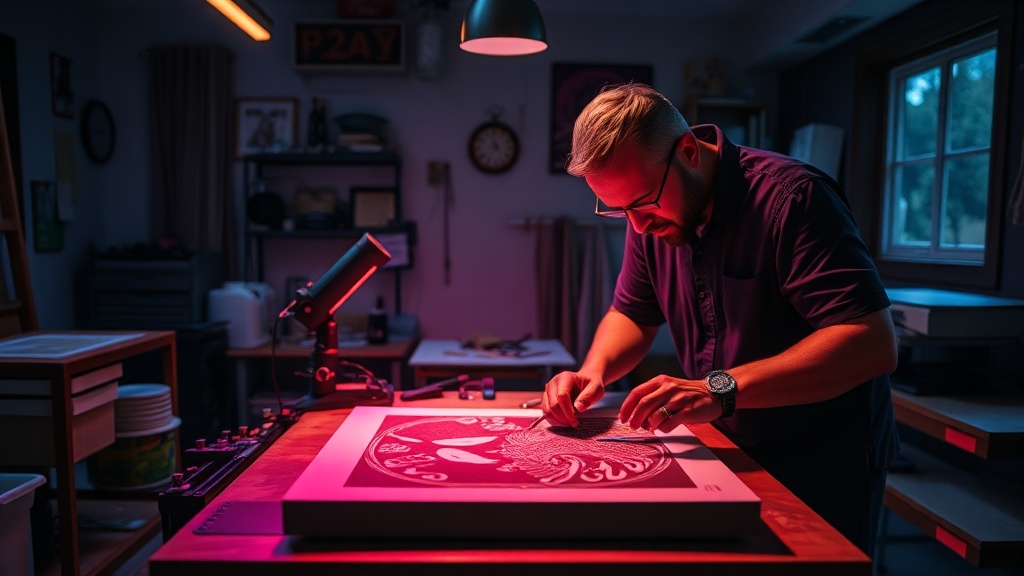
The carving stage is where the character of your print is born. You're essentially sculpting a negative image, so every cut counts. Most beginners start with a basic V-gouge or U-gouge set, but the quality of the steel matters more than you think. Cheap tools often dull quickly, leading to ragged edges and frayed lines. If you want clean, crisp edges, you need a tool that holds a sharp edge through several hours of work.
- V-Gouges: These are your best friends for fine lines and hatching. They create a sharp, narrow trough.
- U-Gouges: These are wider and more rounded, perfect for clearing out large areas of negative space.
- Linoleum Types: Traditional gray linoleum is quite dense and holds detail well, but it can be stubborn. Soft-cut rubber blocks are easier to carve (great for beginners) but they lack the fine detail capability of traditional linoleum.
When you're carving, remember to carve away from your body. It sounds like a cliché, but a slip with a sharp tool can end a creative session very quickly. If you're using traditional battleship linoleum, a quick tip is to warm it up slightly with a hairdryer or a heating pad. This softens the material, making the carving much smoother and less taxing on your hands.
How do I get even ink coverage on my block?
This is where most people run into trouble. You might have a beautiful carving, but if the ink is uneven, the print will look blotchy or "salty." Achieving that velvety, consistent layer of ink is a skill that takes practice. You aren't just slapping ink onto the block; you're building a film.
To get professional results, you need a high-quality brayer (a hand roller) and a glass or acrylic slab for your ink. The process involves a few specific steps. First, place a small amount of ink on your slab. Use a palette knife to spread it out. Then, roll your brayer through the ink until the roller is evenly coated. You're looking for a specific sound—a soft, consistent "hiss" or "velvet" texture. If the ink sounds too loud or looks chunky, you've applied too much. If it looks thin and transparent, you haven't enough.
For more information on different ink viscosities and how they behave, the Dick Blick Arts website is an incredible resource for understanding the chemistry of different printing inks. Understanding the difference between water-based and oil-based inks is vital. Water-based inks dry fast, which is great for quick sessions, but oil-based inks (specifically oil-based water-washable versions) offer much more control and depth for serious artists.
Which printing method should I use at home?
You don't need a $2,000 etching press to make beautiful prints. There are several ways to transfer your ink from the block to the paper using nothing but hand tools. This is the most accessible part of the process, but it requires patience.
<| Method | Pros | Cons |
|---|---|---|
| The Baren | Consistent, controlled pressure. | Takes time and manual effort. |
| The Wooden Spoon | Extremely cheap, easy to find. | Harder to get heavy pressure for thick inks. |
| The T-Shirt/Backing | Great for large-scale prints. | Requires a lot of physical strength. |
If you choose the spoon method, you're essentially using the back of a heavy wooden spoon to burnish the paper against the inked block. The key is to work in sections. Don't try to press the whole sheet at once. Instead, rub in small, circular motions, lifting the corner of the paper occasionally to check your progress. This "peek-a-boo" method ensures you don't end up with a ruined print if the ink hasn't transferred correctly.
Paper choice is just as important as the printing method. For hand-printing, you want a paper that is somewhat absorbent and not too heavy. A thin, high-quality mulberry paper or a light art-grade paper works beautifully with the spoon method. If the paper is too thick, it won't take the ink without the massive pressure of a professional press. For a deep dive into paper types, check out the resources at Taheima to see how weight and texture affect ink absorption.
Don't be discouraged if your first few prints look a bit messy. Printmaking is a repetitive process. You'll learn the "feel" of your ink and the "resistance" of your paper through trial and error. Keep a notebook of your settings—how much ink you used, what paper you chose, and how much pressure you applied. This way, you can replicate your successes and learn from your failures. A successful print is often the result of many "failed" attempts that taught you exactly how much pressure was actually needed.