Can You Build a Working Printing Press from Scratch for Under $50?

What if you could pull crisp, professional-quality prints from hand-carved blocks without dropping hundreds on a commercial press? Most printmakers assume that even a basic etching press costs more than their monthly rent—and they're not wrong. But here's the thing: the mechanics behind relief printing are surprisingly simple. With some basic hardware store materials and a Saturday afternoon, you can build a functional screw press that handles woodcuts, linocuts, and even small etchings. This guide walks you through constructing a bare-bones yet effective printing press that sits on your tabletop and fits your budget.
What Materials Do You Actually Need for a DIY Printing Press?
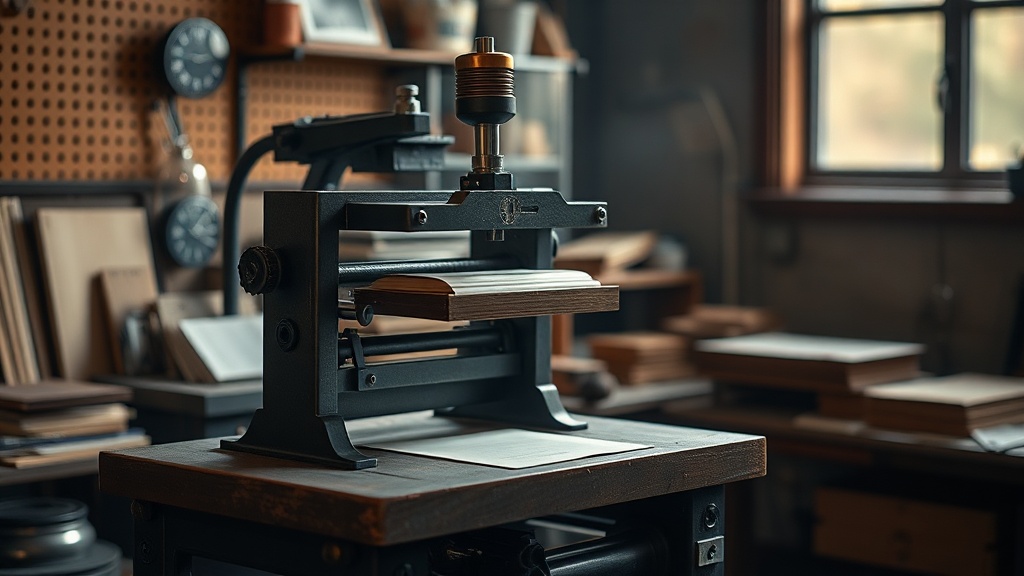
Before heading to the hardware store, let's talk about what makes a press work. You need three things: even pressure, controlled downward force, and a flat surface that stays stable. Commercial presses achieve this with precision-machined parts and heavy iron frames. Your homemade version will use simpler physics—threaded rods for the screw mechanism, plywood for the frame, and a car jack for the pressing action.
Here's your shopping list (all available at Home Depot, Lowe's, or similar):
- Two 12-inch lengths of 3/4-inch threaded rod (the screw mechanism)
- Four 3/4-inch nuts and four washers to match the rod
- Two 3/4-inch tee fittings (these connect the rods to your pressing plate)
- One 12x12 inch piece of 3/4-inch hardwood plywood (the base)
- One 10x10 inch piece of 1/2-inch plywood (the pressing plate)
- A small scissor jack from an auto parts store (the force multiplier)
- Four rubber feet or furniture pads
- Wood glue and 1.5-inch wood screws
Total cost? Between $35 and $50 depending on what you already have in your garage. The scissor jack is the single most expensive piece—usually around $15—but it's what transforms elbow grease into the tons of pressure needed for clean impressions. You can see detailed diagrams of traditional press mechanics at The International Fine Print Dealers Association, which helps explain why this simplified design actually works.
How Do You Assemble the Frame Without Woodworking Experience?
The frame is just a U-shaped cradle that holds your printing bed and provides anchor points for the screw mechanism. Don't overthink it—precision matters less than sturdiness here.
Start by cutting your 3/4-inch plywood base to 12x16 inches. This gives you room for the printing bed to slide in and out while keeping the whole assembly stable. Drill two holes 10 inches apart along the centerline of the base—these should be slightly larger than your threaded rod (about 13/16 inch) so the rods pass through cleanly.
Now cut two upright pieces from the same plywood, each 12 inches tall and 4 inches wide. These form the sides of your U-shape. Attach them to the base using wood glue and screws driven from underneath. Pre-drill your holes to prevent splitting, and check that the uprights are square to the base—use a carpenter's square if you have one, or just eyeball it carefully. A little off-square won't ruin your prints, but wobbling definitely will.
The top crosspiece connects the two uprights and holds the screw mechanism. Cut this from 3/4-inch plywood at 14x4 inches. Drill your rod holes here too, matching the spacing on the base. Attach it across the tops of the uprights with glue and screws. You now have something that looks like a wooden goalpost sitting on a platform.
For a deeper dive into press construction techniques used by professional print studios, the Tate Museum's printmaking resources offer excellent historical context on how these mechanisms evolved.
What's the Secret to Getting Even Pressure Across Your Block?
This is where most DIY press plans fail—they create plenty of downward force, but it concentrates in one spot. Your carved block needs uniform pressure everywhere, or you'll get patchy prints with some areas too light and others over-inked.
The solution is a floating platen system. Instead of attaching your pressing plate directly to the screw mechanism, you sandwich a thin piece of cushioning material between the jack and the plate. Felt works beautifully here—get a 10x10 inch square of 1/4-inch wool felt from a craft store. The felt compresses slightly and distributes the jack's point pressure across the entire pressing plate.
Here's the assembly: Run your threaded rods through the holes in the base and top crosspiece. Thread nuts and washers on both ends to lock everything in place. At the bottom, attach the tee fittings—these give you handles to turn the rods and raise or lower the mechanism. Mount your scissor jack on a small plywood sled that rides between the uprights. The jack pushes up against your pressing plate (with the felt sandwiched between), which then presses your paper against the inked block below.
The beauty of this setup is adjustability. Different blocks have different heights. Some papers are thicker than others. By turning the threaded rods, you can fine-tune the starting height so the jack always operates in its sweet spot—neither fully compressed nor fully extended.
Why Does My Homemade Press Produce Better Prints Than Hand-Rubbing?
Hand-burnishing with a baren or spoon works fine for small blocks, but it has limits. You're applying pressure sequentially—small area by small area—and human inconsistency creeps in. The edges get more pressure than the center. Your arm gets tired. The baren slips and smudges the ink.
A screw press applies simultaneous pressure everywhere. When you turn that handle and the jack expands, every square inch of your block meets the paper with identical force. The mechanical advantage of the screw thread means you're not fighting the paper—you're letting physics do the work.
There's also the matter of consistency across an edition. When you're pulling ten or twenty prints, hand-burnishing introduces variation. Some impressions are darker, some lighter, some mysteriously fuzzy at the edges. The press eliminates most of this variation. Once you find the right pressure setting, every print looks like the one before it.
For technical guidance on printmaking standards and archival practices, Smithsonian Magazine's coverage of printmaking explains why consistent pressure matters for longevity and visual impact.
What About Safety and Maintenance?
Power tools and pinch points deserve respect. The scissor jack can develop surprising force—enough to damage the wooden frame if you really lean on it. Never put your fingers between the pressing plate and the base while operating the mechanism. Wear safety glasses when cutting plywood; those spinning blades throw splinters.
Keep your threaded rods clean and lightly oiled. Sawdust and ink buildup will gum up the works and make adjustment difficult. Check that the nuts stay tight—vibration from cranking can loosen them over time. A drop of thread-locking compound on the nut threads prevents this.
The wooden surfaces will get ink-stained; that's unavoidable. You can seal them with polyurethane if you want easier cleanup, though many printmakers prefer the patina of a well-used press. Just avoid getting finish on the felt cushion—that needs to remain absorbent and slightly compressible.
How Can You Expand This Basic Design?
Once you've built the basic press, modifications abound. Add a registration system—two L-shaped aluminum brackets screwed to the base let you position paper and block identically every time. Build interchangeable pressing plates of different sizes for different projects. Some makers install a small heating element (like a silicone mat used for seed starting) to warm the platen slightly, which helps ink flow on stubborn papers.
The real revelation comes when you realize this same mechanism works for other processes. Bookbinders use screw presses for casing-in and embossing. Papermakers use them for pressing wet sheets. Collagraph and carborundum prints—too textured for hand-burnishing—suddenly become manageable. You've built more than a printmaking tool; you've built a small-scale manufacturing device.
Printmaking at home shouldn't require studio space or equipment loans. This $50 press proves that the barriers are lower than the catalogs suggest. Your carved blocks are waiting. The hardware store is open. What will you print first?