
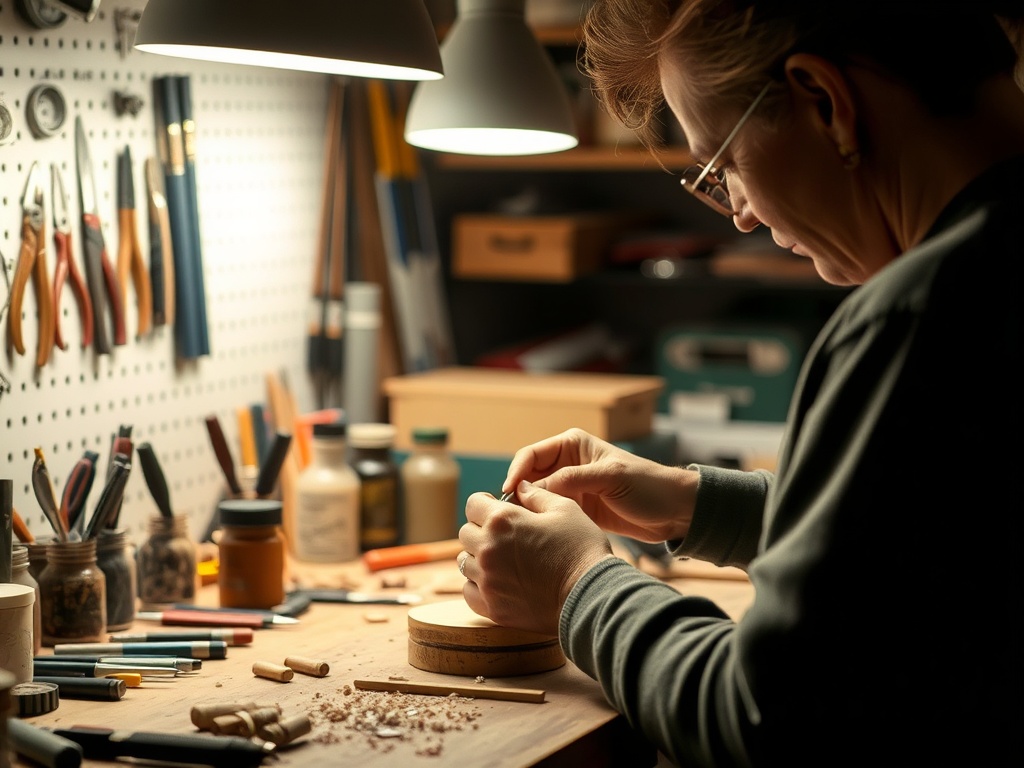
The One Tiny Habit That Instantly Makes Your DIY Projects Look Professional

Most DIY projects don’t fail because of bad ideas—they fail in the final 10%. The paint is uneven, edges are messy, or details feel rushed. If you’ve ever stepped back from something you made and thought, “It’s close… but not quite,” you’re not alone.
Here’s the truth: the difference between amateur-looking crafts and polished, professional results often comes down to one tiny habit—slowing down for the finishing pass.
The Quick Tip
Always schedule a dedicated “finishing pass” after your project is technically complete—and treat it as a separate step, not an afterthought.
This is where you refine edges, clean surfaces, fix alignment, and elevate the entire piece. It sounds simple, but it’s the step most people skip.
Why This Works (And Why Most People Skip It)
When you’re crafting, your brain is focused on completion. You want to see the finished result, so the moment something is “good enough,” you mentally check out. That’s when small flaws slip through.
Professionals don’t stop at “done.” They stop at refined.
This finishing pass forces you to switch mindsets—from builder to editor. And that shift is where the magic happens.
What a Proper Finishing Pass Actually Includes
Think of this as your checklist. You don’t need to do everything every time, but you should consciously review each category.
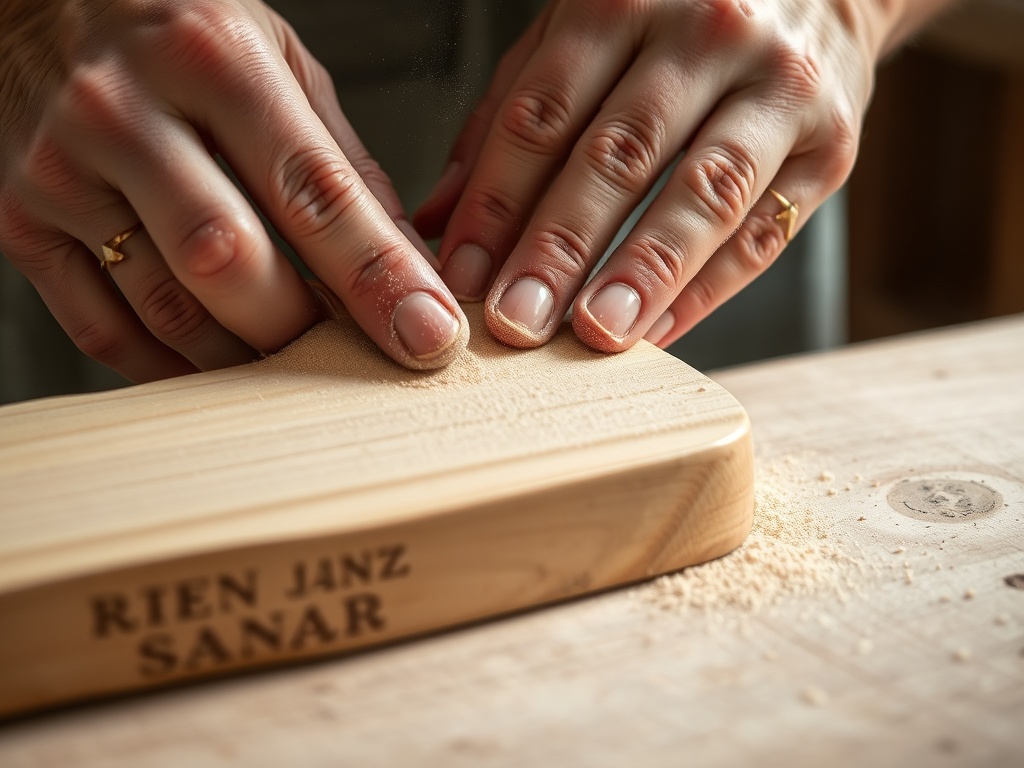
1. Edge Cleanup
Edges are where most DIY projects give themselves away. Rough cuts, glue residue, uneven paint lines—these are all fixable.
- Light sanding for wood or rough surfaces
- Precision trimming for paper or vinyl
- Touch-up paint along borders
2. Surface Perfection
Look at your project under good lighting. Rotate it. Run your hand across it.
- Remove smudges, fingerprints, or dust
- Add a second coat if coverage is uneven
- Buff or seal if the material allows
3. Alignment Check
Human eyes are incredibly sensitive to alignment issues.
- Are elements centered?
- Are lines straight?
- Do repeated patterns match?
If something feels “off,” it probably is.
4. Detail Enhancement
This is where you go from good to great.
- Add subtle shading or highlights
- Reinforce lines or outlines
- Layer textures for depth
These are small changes that dramatically increase perceived quality.
How to Build This Habit (Without Slowing Yourself Down Too Much)
The biggest resistance people have is time. It feels like an extra step—but it doesn’t have to be a long one.
Set a 10-Minute Rule
Commit to just 10 minutes of finishing work. That’s it. You’ll be surprised how much you can improve in that short window.
Physically Step Away First
Take a break before your finishing pass. Even five minutes helps reset your eyes so you can spot issues more easily.
Use Better Lighting
Most flaws hide in poor lighting. Bring your project near a window or use a bright lamp before your final pass.
Real Examples of the Difference
Let’s make this practical.
Example: Painted Mason Jar
Without a finishing pass: visible brush strokes, uneven opacity, paint on the rim.
With a finishing pass: smooth second coat, clean rim, optional sealant for a subtle sheen.
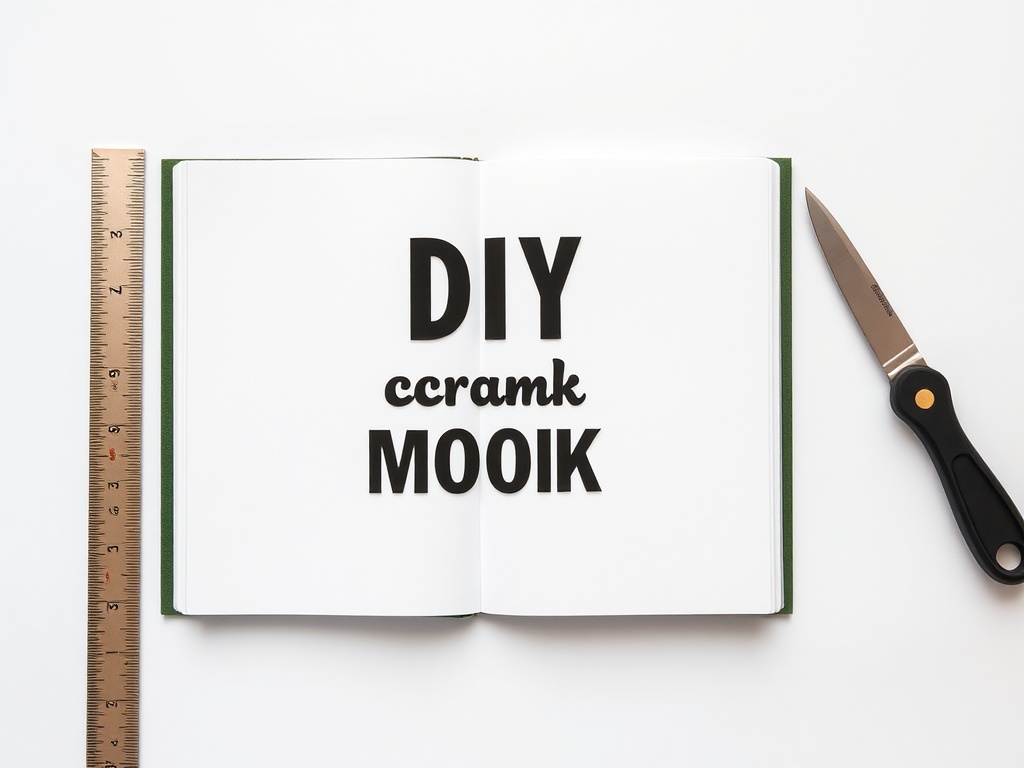
Example: Handmade Card
Without: slightly crooked text, glue marks, uneven cuts.
With: trimmed edges, aligned elements, erased marks—suddenly it looks store-bought.
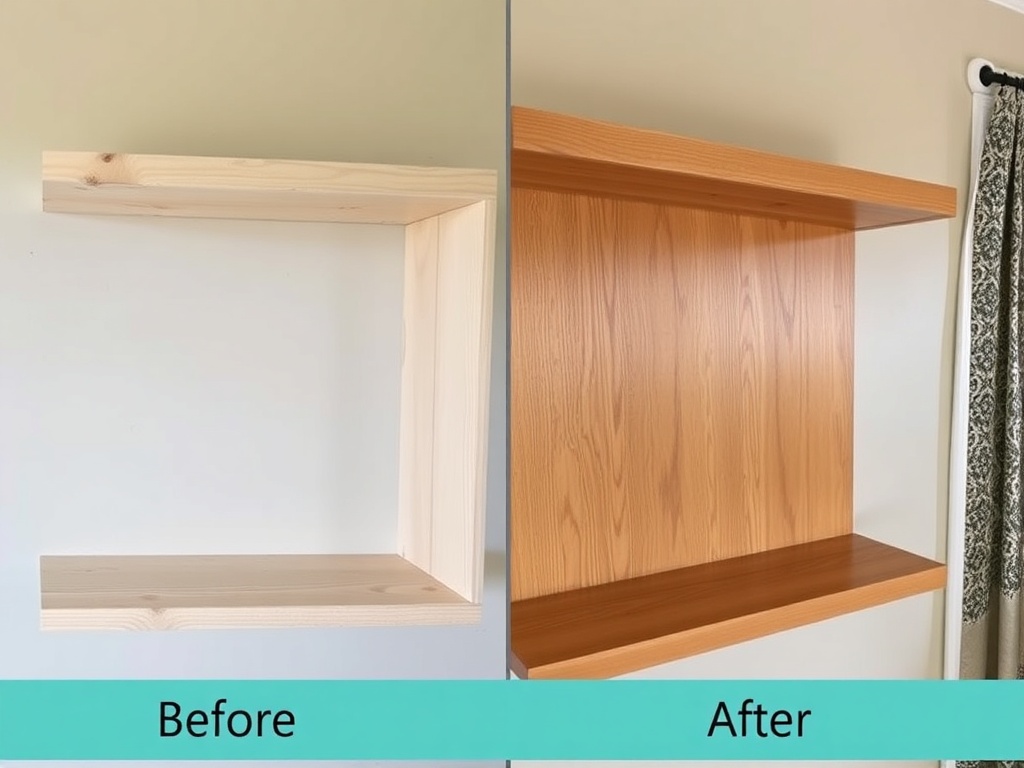
Example: Wooden Shelf
Without: rough edges, visible sanding marks, inconsistent stain.
With: fine sanding, even stain application, sealed finish—clean, intentional, professional.
The Psychology Behind “Professional” Quality
People don’t consciously analyze your work—they feel it. Clean edges, smooth surfaces, and alignment signal care and intention.
That’s what “professional” really means: nothing feels accidental.
Your finishing pass removes the accidental.
Common Mistakes to Avoid
- Rushing the last step: This defeats the entire purpose.
- Overworking details: Know when to stop—refined, not overdone.
- Skipping cleanup: Dust and debris can undo great work.
- Ignoring tools: A dull blade or worn brush makes clean finishes harder.
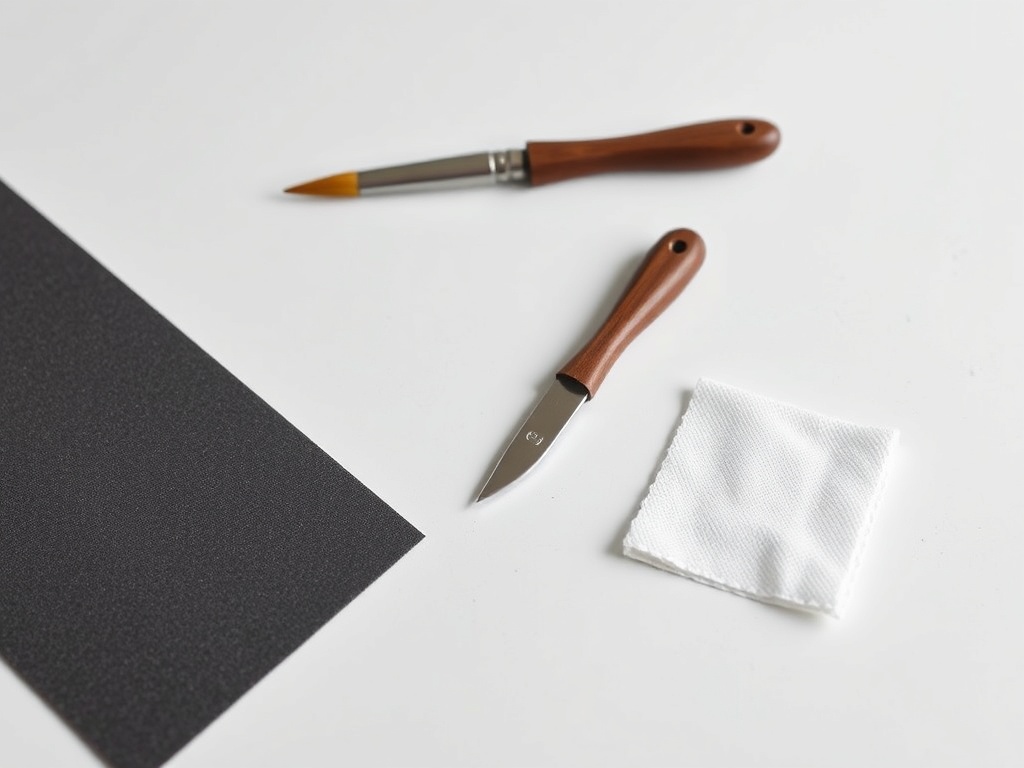
Tools That Make Finishing Easier
You don’t need a full workshop, but a few simple tools help:
- Fine-grit sandpaper (for smoothing)
- Precision knife or scissors
- Small detail brushes
- Microfiber cloth for cleaning
- Ruler or straight edge
Why This Habit Compounds Over Time
The first time you do this, you’ll notice improvement. After ten projects, it becomes instinct. After fifty, your baseline quality is higher than most hobbyists.
You’re not just improving one project—you’re upgrading your entire creative standard.
Final Thought
If you remember nothing else, remember this: the last 10% of effort creates 90% of the perceived quality.
So next time you think you’re done, don’t stop. Take a breath, switch into finishing mode, and give your work the attention it deserves.
That small shift is what turns “I made this” into “Where did you buy that?”