Creating Your Own Natural Fabric Dyes from Kitchen Scents and Scraps

You're staring at a pile of discarded onion skins, avocado pits, and leftover coffee grounds, wondering if they're actually useful or just more kitchen waste. This guide explains how to turn those organic scraps into vibrant, permanent dyes for natural fibers like cotton, silk, and wool. Instead of buying expensive synthetic dyes, you'll learn to extract pigments from common food items to create a custom color palette for your textile projects.
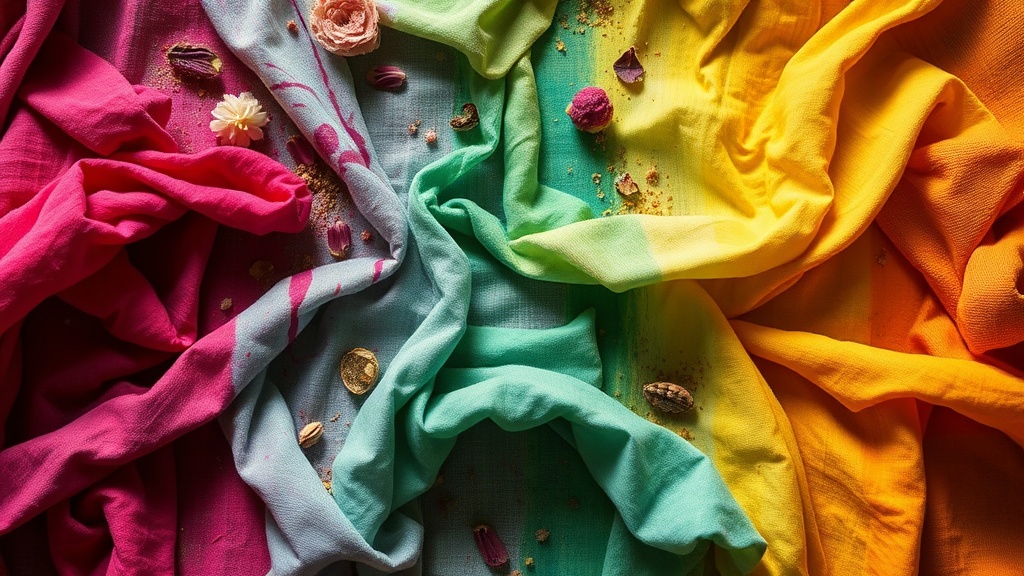
Natural dyeing isn't just a hobby; it's a way to reduce waste and create colors that synthetic dyes can't replicate. You'll find shades of soft peach, deep ochre, and even moody purples using nothing more than what's already in your pantry. It's a bit of a science experiment, but the results are incredibly rewarding when you see your plain linen napkins turn a beautiful sunset orange.
What Materials Do I Need for Natural Dyeing?
You need a dedicated pot for dyeing, a heat source, a scale, and various organic materials like onion skins or berries. It's best to use a stainless steel or enamel pot—avoid aluminum or iron if you want to keep your colors predictable, as metal can react with the dye and shift the hue.
Here is a list of the fundamental supplies you'll need to get started:
- Stainless steel pot: This is your primary vessel for simmering.
- Fine mesh strainer: To remove the plant matter after the dye bath is ready.
- Digital scale: Precise measurements are the difference between a light tint and a deep color.
- Natural fiber fabric: Cotton, linen, silk, or wool (synthetic blends often won't take the dye well).
- Mordants: Substances like Alum or Vinegar that help the color stick to the fabric.
If you've been working with textiles for a while, you might already have some of these items tucked away. If you're still organizing your workspace, check out my guide on how to organize your craft supplies to ensure you have a dedicated area for your messy dye batches.
The Importance of Mordants
A mordant is a substance that fixes the dye to the fiber. Without it, your colors will simply wash away the first time you clean the fabric. Most crafters use potassium aluminum sulfate (commonly called Alum) because it's safe and effective. You can find it in the spice aisle of most grocery stores or through chemical suppliers like Wikipedia's entry on mordants for more technical background.
Think of the mordant as the glue. The dye provides the color, but the mordant ensures that color stays put. It's a two-step process: first, you simmer the fabric in a mordant solution, then you introduce the dye. Skipping this step is the most common mistake beginners make (and trust me, I've done it).
Which Kitchen Scraps Produce the Best Colors?
The best kitchen scraps for dyeing are those with high tannin content or strong natural pigments, such as onion skins, avocado pits, and coffee grounds. Different scraps yield wildly different results depending on the pH of the water and the mordant used.
I've put together a quick reference table so you can see what to expect from your pantry scraps:
| Scrap Item | Expected Color | Best For |
|---|---|---|
| Yellow Onion Skins | Golden Yellow / Orange | Cotton and Linen |
| Avocado Pits/Skins | Dusty Pink / Peach | Silk and Wool |
| Black Tea/Coffee | Tan / Light Brown | Cotton and Hemp |
| Red Onion Skins | Deep Purple / Rust | Wool and Silk |
Avocado pits are a personal favorite of mine. They produce a stunning, sophisticated blush color that looks incredibly high-end on silk scarves. Just be prepared for a bit of a mess—the pits can be quite slippery when wet.
One thing to keep in mind: the color you see in the pot isn't always the color you get on the fabric. It's often much more subtle. A deep reddish-brown in the pot might end up as a soft beige on a cotton t-shirt. This isn't a failure; it's just the nature of organic pigments.
How Do I Dye Fabric Using Natural Dyes?
To dye fabric, you must first mordant the material, then simmer the plant scraps to create a dye bath, and finally soak the fabric in that bath for several hours.
Here is the step-by-step process I use in my own studio:
- Prepare the Fiber: Wash your fabric thoroughly to remove any oils or factory finishes. Even a tiny bit of fabric softener can block the dye.
- The Mordant Bath: Simmer your fabric in a solution of water and Alum (usually about 10-15% of the weight of the dry fabric) for about an hour.
- Extract the Color: Place your scraps (like onion skins) in a pot of water. Bring to a boil, then simmer for about an hour. Strain the solids out using a fine mesh sieve.
- The Dyeing Process: Submerge your pre-mordanted fabric into the colored liquid. Keep the heat low—you want a gentle simmer, not a rolling boil. A rolling boil can actually damage delicate fibers like silk.
- The Long Soak: Let the fabric sit in the dye bath. For a light tint, an hour is fine. For a deep, saturated color, let it soak overnight.
- Rinse and Dry: Rinse the fabric in cool water until the water runs clear. Hang it to dry out of direct sunlight.
If you're working with protein fibers like wool, you'll want to be even more careful with temperature. Drastic temperature changes can cause wool to "felt" or become matted. Always let the fabric cool down inside the dye bath before taking it out. It's a slow process, but the patience pays off.
Sometimes, you might find yourself with extra materials after a project. Instead of throwing them away, consider using leftover fabric scraps for smaller dyed items like coasters or patches. It's a great way to practice your colors without committing to a large piece of fabric.
The color results can be quite unpredictable. If you want to experiment with color shifting, you can add a bit of baking soda to the dye bath to raise the pH, or add vinegar to lower it. This can turn an avocado dye from a pale peach to a deep forest green. It's a bit of a gamble, but it's part of the fun.
Don't get discouraged if your first batch looks a bit "off." Natural dyeing is an art of nuance. The colors aren't perfect or uniform, and that's actually the beauty of it. You're working with the earth, not a chemical-heavy factory. The slight variations in tone are what make your handmade items feel truly unique.
One thing to watch out for is the "scrubbing" effect. If you're using a lot of agitation in the pot, you might end up with uneven spots. I prefer to let the fabric sit mostly still, occasionally stirring it very gently with a wooden spoon to ensure even coverage. A little bit of patience goes a long way here.
If you've ever felt frustrated by a project not turning out as expected, remember that even professionals have "bad" batches. The more you experiment with different scrap combinations, the better your intuition will become. You'll start to realize that certain scraps work better with certain fibers, and that's where the real magic happens.
Steps
- 1
Gather Your Natural Ingredients
- 2
Prepare the Fabric with a Mordant
- 3
Simmer the Dye Bath
- 4
Submerge and Soak the Fabric
- 5
Rinse and Set the Color