Making Hand-Spun Yarn from Raw Wool Fiber

You’re standing in front of a pile of raw, unwashed sheep's wool—sometimes called fleece—and it looks nothing like the smooth, finished yarn you see in a craft store. It’s messy, full of bits of hay, and slightly greasy. This post breaks down the exact steps to transform that raw fiber into a usable, consistent yarn using a drop spindle or a spinning wheel. Understanding this process is the difference between a tangled mess and a high-quality skein you’ll actually want to knit with.
Turning raw wool into yarn is a multi-stage physical process that requires patience and a bit of muscle. You aren't just spinning; you're cleaning, carding, and drafting. It’s a tactile, rhythmic way to create something from the ground up.
What Tools Do You Need to Spin Raw Wool?
You need a few specific tools to move from raw fleece to finished yarn, ranging from cleaning supplies to drafting implements. If you're a beginner, don't feel like you need a $1,000 spinning wheel right away. A simple drop spindle is often enough to get your feet wet.
The toolkit for wool processing generally falls into three categories: cleaning, prepping, and spinning. Here is a breakdown of what you'll likely need:
- A Basin or Sink: For washing the raw fleece to remove lanolin and debris.
- A Carding Tool: Either hand cards (brushes with wire teeth) or a drum carder to align the fibers.
- A Spinning Device: A drop spindle for beginners or a spinning wheel for more advanced work.
- A Drying Rack: To hang your finished skeins for washing and setting the twist.
I personally recommend starting with a set of hand cards from a brand like Brydon or even basic wooden hand cards found at local craft shops. They are much more forgiving than a heavy machine. If you're worried about space, remember that your tools don't need to take over your entire studio—you can always organize your craft supplies to keep your spinning station tidy.
How Do You Clean Raw Wool Fleece?
You must thoroughly wash and rinse the raw fleece in lukewarm water to remove lanolin, dirt, and vegetable matter before spinning. If you skip this, your yarn will be scratchy and full of debris.
First, you have to "scour" the wool. This isn't a quick rinse. You'll need to use a specialized wool detergent—standard dish soap won't cut it because it's too aggressive or doesn't break down the oils correctly. A popular choice is Yulex or a specialized wool wash.
The process goes like this:
- Sort the fleece: Pull out any large clumps of dirt or dried grass by hand.
- Soak: Place the wool in a basin of lukewarm water. Never use hot water—it will cause the fibers to felt instantly (a mistake that's hard to fix).
- Agitate: Gently move the water around to let the dirt settle.
- Rinse: Repeat the rinse process until the water runs clear and the water is no longer greasy.
Once the wool is clean, it will look much fluffier and lighter. This is the stage where you realize how much "junk" was actually in that fleece. It’s a bit of a shock to the system, but it's a necessary step for a professional result.
How Do You Prepare Fiber for Spinning?
Preparing fiber involves "carding," which is the process of combing the wool to align the fibers into a soft, airy mass called a "batt" or "rolag." This step ensures the yarn will be smooth and even rather than clumpy.
If you've never used hand cards, they look like two small paddles covered in wire teeth. You place a small amount of wool between the two paddles and move them in a rhythmic, brushing motion. This pulls the fibers into a long, consistent length. If you're more advanced, you might use a drum carder to create larger batches of fiber more quickly.
"The quality of your yarn is almost entirely dependent on the quality of your carding. If the fibers aren't aligned, your yarn will have thick and thin spots that drive you crazy."
I've found that if you don't spend enough time here, the spinning part becomes a nightmare. You'll constantly be fighting knots. Take your time with the carding; it's almost meditative once you get the hang of the rhythm.
What Is the Difference Between a Spindle and a Spinning Wheel?
A drop spindle is a handheld tool used to twist fiber into yarn via gravity and momentum, while a spinning wheel uses a foot pedal (treadle) to provide continuous rotation. The choice depends on your budget and how much yarn you want to produce.
| Feature | Drop Spindle | Spinning Wheel |
|---|---|---|
| Complexity | Simple, easy to learn. | Moderate to high learning curve. |
| Speed | Slow, manual control. | Fast, consistent rotation. |
| Portability | Extremely high; fits in a bag. | Low; requires a dedicated space. |
| Cost | Affordable (usually $20-$50). | Investment (starts around $300+). |
If you're just starting out, I'd suggest the spindle. It teaches you the "feel" of the fiber much better. You learn exactly how much tension is required to keep the twist consistent. Once you understand that, moving to a wheel feels like an upgrade rather than a confusing new machine.
The Actual Spinning Process
Once you have your carded-up fiber (your "batt"), it's time to spin. Whether you're using a spindle or a wheel, the principle is the same: you are creating twist in the fiber and then pulling it out to create length.
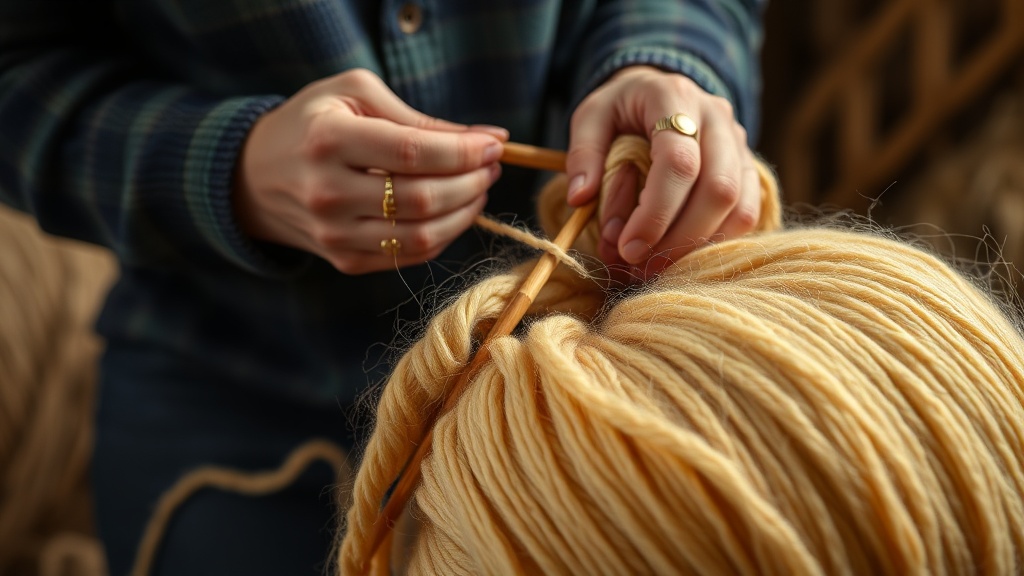
Hold a small amount of the fiber in your hand. Begin twisting the fiber between your fingers—this creates the "twist." As you twist, you'll start to pull the fiber away from the main mass. This is called "drafting." You're essentially thinning out the fiber as you go, which allows the twist to travel down the length of the strand.
It’s a delicate balance. If you pull too hard, the fiber snaps. If you don't pull enough, the yarn will be thick and won't have enough structure. It's a bit of a dance—you're constantly adjusting the tension between your hands and the rotation of the spindle or wheel.
Don't worry if your first few attempts look like a bird's nest. It's a common experience. Even seasoned spinners have days where the yarn just won't cooperate. The key is to keep practicing the rhythm. You'll eventually find that "sweet spot" where the fiber flows smoothly through your fingers.
When you've reached the end of your fiber, you'll have a long, continuous thread. Now, you need to "wind" it. This usually involves winding the yarn onto a way to keep it under tension, often called a "skein" or "hank." You can hang these over a drying rack or a towel rack to let them air dry and set the twist. This helps the yarn retain its shape and prevents it from kinking up into a ball.
The result is a piece of yarn that is uniquely yours. It has a texture and a character that no store-bought yarn can replicate. You've taken something raw from the earth and, through a series of manual steps, turned it into something beautiful and functional.
Steps
- 1
Prepare Your Raw Wool
- 2
Drafting the Fiber
- 3
Applying the Twist
- 4
Managing Tension